The following section gives a general introduction to working with Xtract for Alteryx using the Xtract Table component as an example. The information described in the following section is a prerequisite for all subsequent sections.
Note: An SAP Connection is a requirement for using any of Xtract for Alteryx components.
Creating an Extraction #
- Drag the Xtract Table (1) component to the canvas to create a new table extraction. The “Configuration” window opens.
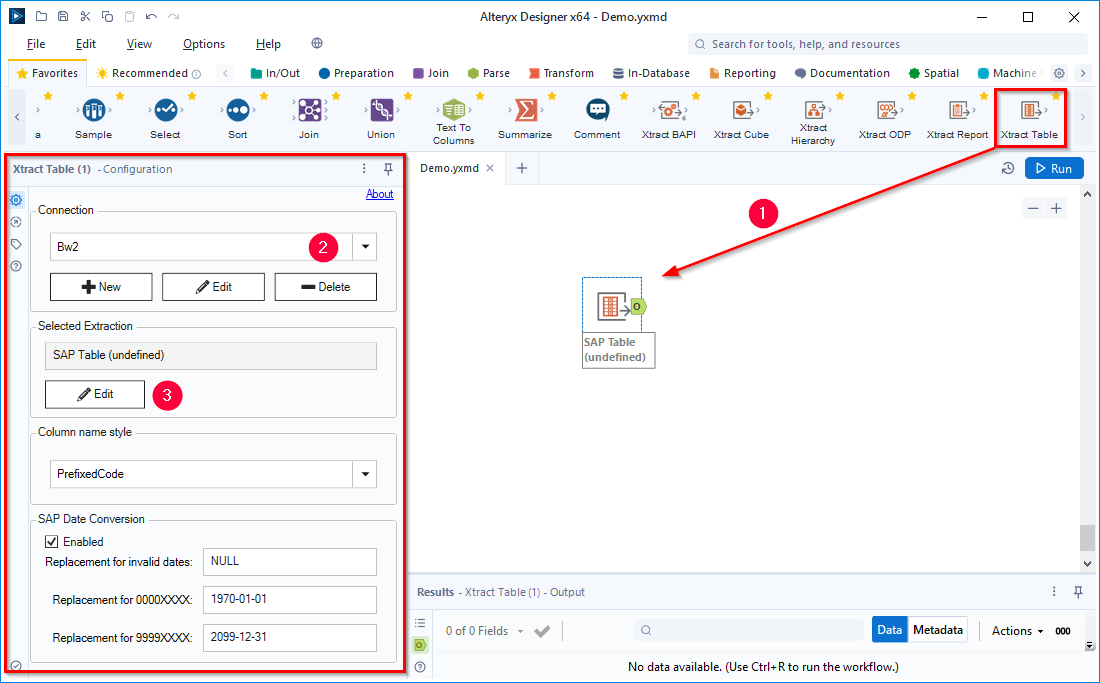
- Under subsection Connection, select an existing SAP connection (2) or create a new one (3). See SAP Connection for more information.
- Under subsection Selected Extraction click [Edit] to configure a new table extraction.
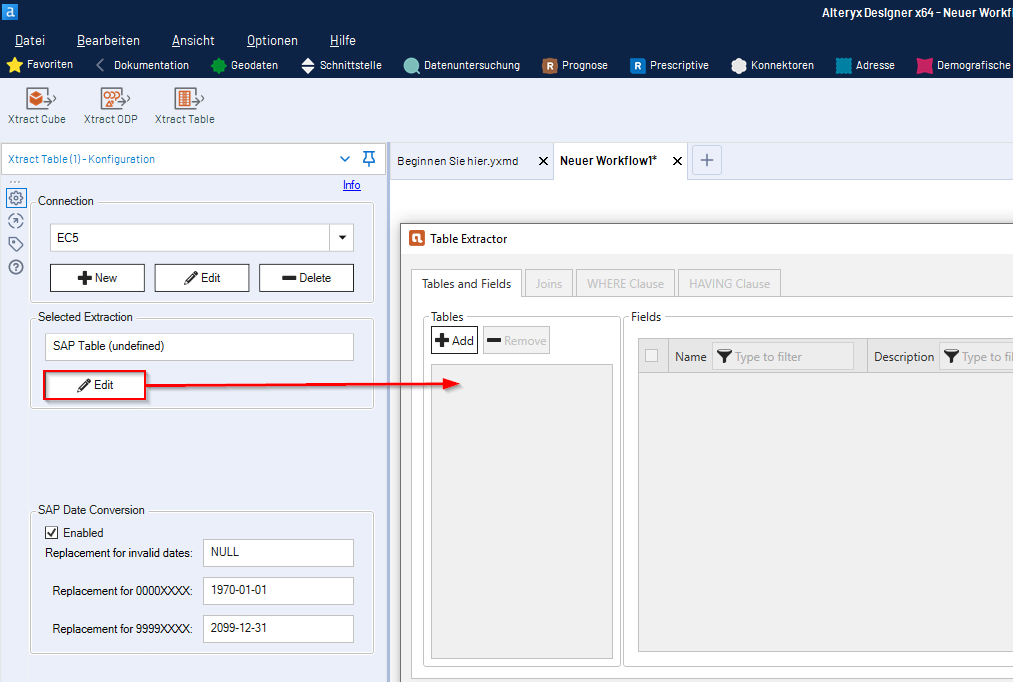
- The main window of the component opens. In this window you can define simple table extractions or join tables for extractions. In the following example, a single table is extracted.
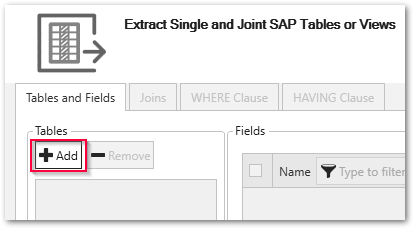
Look up a Table #
- In the main window of the component click [Add] to add a table. The window “Table Lookup” opens.
- In the window “Table Lookup” enter the name of the table to extract (1). Use wildcards (*) if needed.
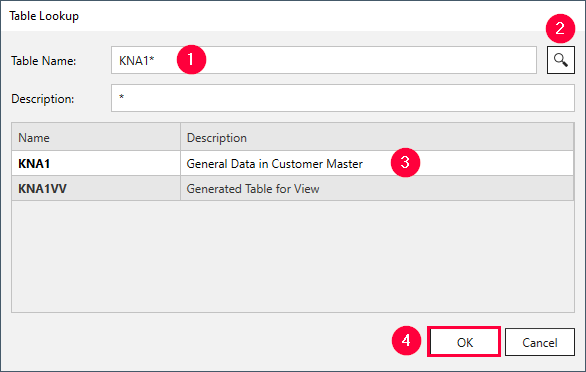
- Click
 (2). Search results are displayed.
 - Select a table (3) and click [OK] (4).
All relevant metadata information of the table is retrieved from SAP. The application now returns to the main window of the component.
Set Up a Table Extraction #
Set up the Table component to extract SAP tables:
- Select the columns you want to extract. By default all columns are selected. Deselect the columns you do not want to extract.
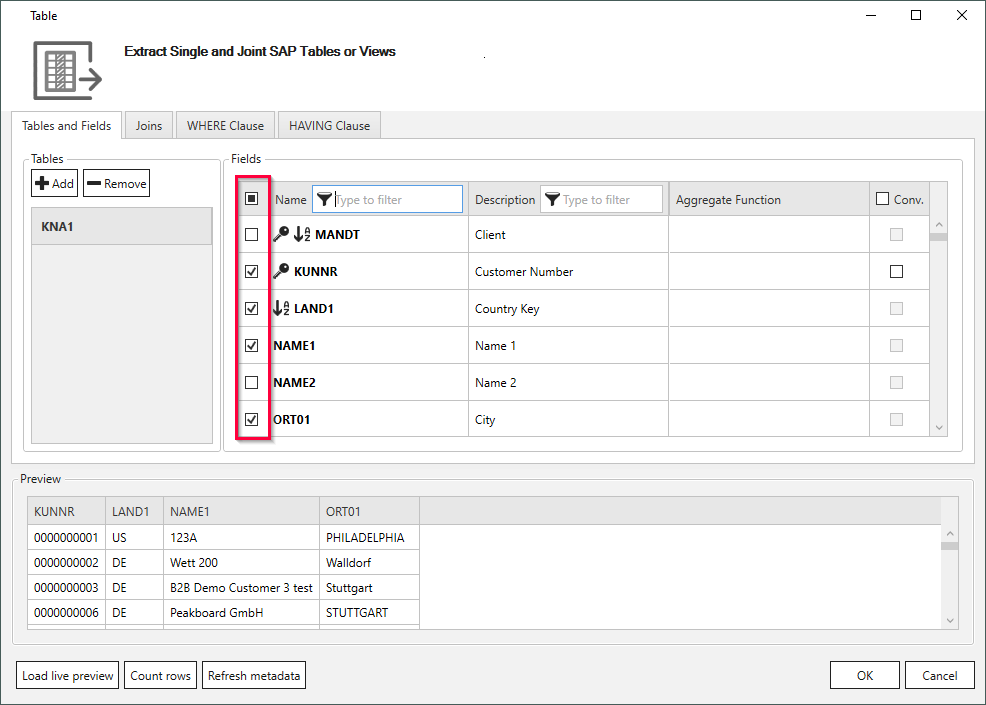
- Optional: Define a WHERE clause or a HAVING clause to filter table records. By default all data is extracted.
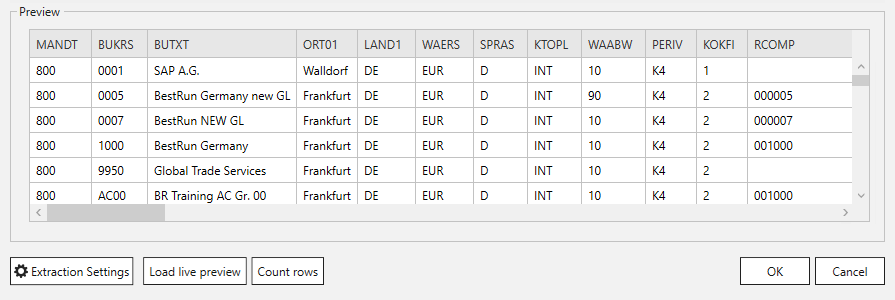
- Click [Load live preview] to display a live preview of the first 100 records.
- Click [OK] to save the extraction.
You can now run the extraction.
Related Links
- BAPI
- BW Cube
- BW Hierarchy
- ODP
- Table - further details on the Table component