Warning: Deprecated documentation
You are using the old version of the online help for ERPConnect.
Make sure to use the documentation within the new HelpCenter for ERPConnect.
Note: Visual Studio Express versions don’t support the LINQ to SAP Designer.
Installation #
Installation of the LINQ to SAP Designer is not done automatically when installing ERPConnect.
Follow the steps below to install the LINQ to SAP add-on:
- Close Visual Studio.
- Navigate to the ERPConnect directory (
C:\Program Files\ERPConnect). The directory includes setups to install the LINQ to SAP Designer.
Start the setup that corresponds to your Visual Studio Version. The following setups are available:- LINQtoERPSetupVS2013.exe
- LINQtoERPSetupVS2015.exe
- LINQtoERPSetupVS2017.exe
- LINQtoERPSetupVS2019.exe
- In the setup window, click [Install] to install LINQ to SAP.
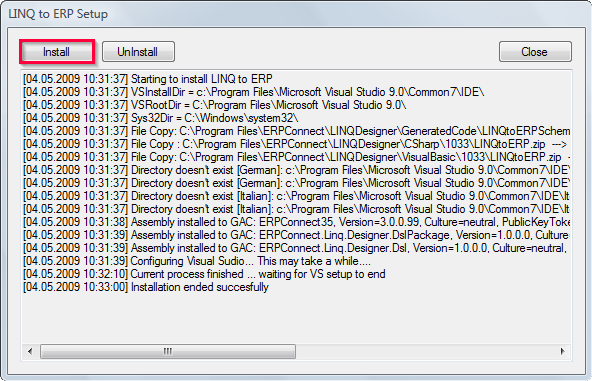
- After the installation is finished, start Visual Studio.
The LINQ to ERP DataContext is now available as an item in Visual Studio.
How to Use LINQ to SAP #
Follow the steps below to add the LINQ to ERP DataContext to your project and to use the LINQ to SAP Designer:
- Right-click in the Solution Explorer and click [Add] > [New Item..] in the context menu.
The window “Add New Item” opens.
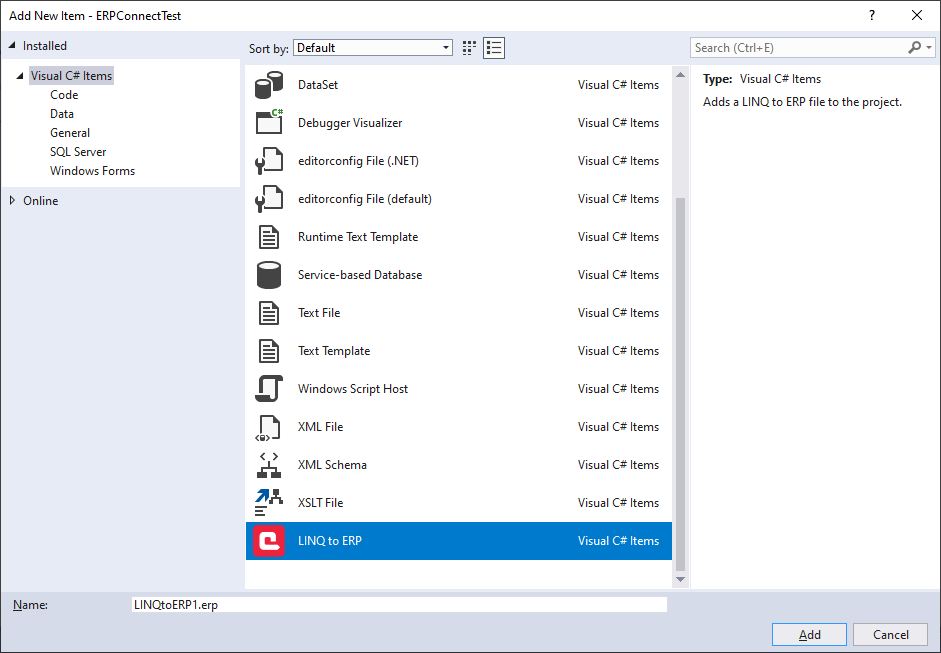
- Select LINQ to ERP from the list of available items and click [Add]. The window closes and the item is listed in the Solution Explorer.
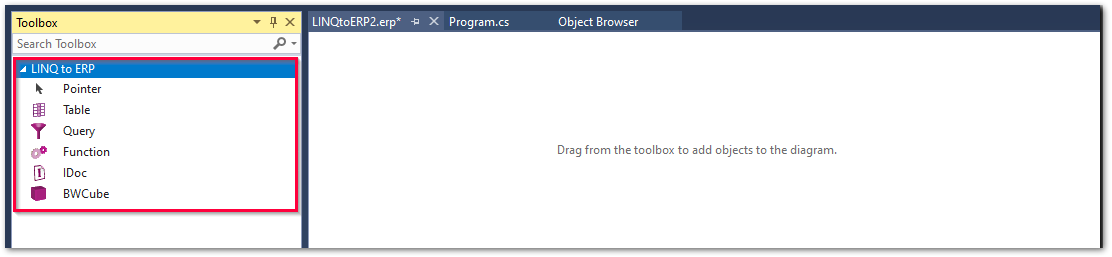
- Double-click LINQ to ERP to open the DataContext.
Use the LINQ To ERP toolbox to drag&drop components into the context. When a component is added, the Designer opens automatically.
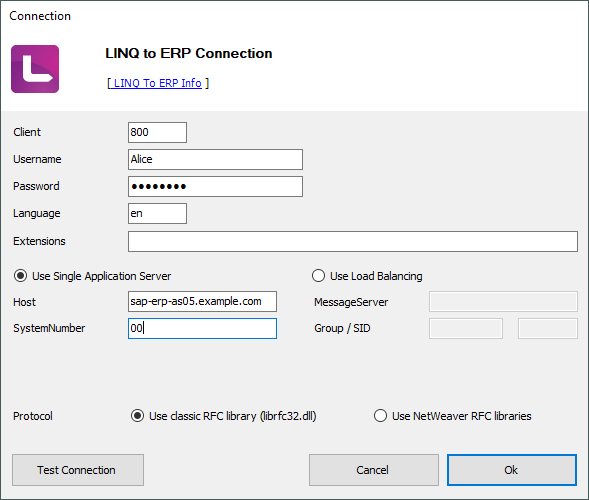
- Enter the connection information to your SAP system.