Creating an Extraction #
The following example shows the creation of an extraction using “SAP Table or View” component.
- In the main window of the Board Connector Designer click [New].
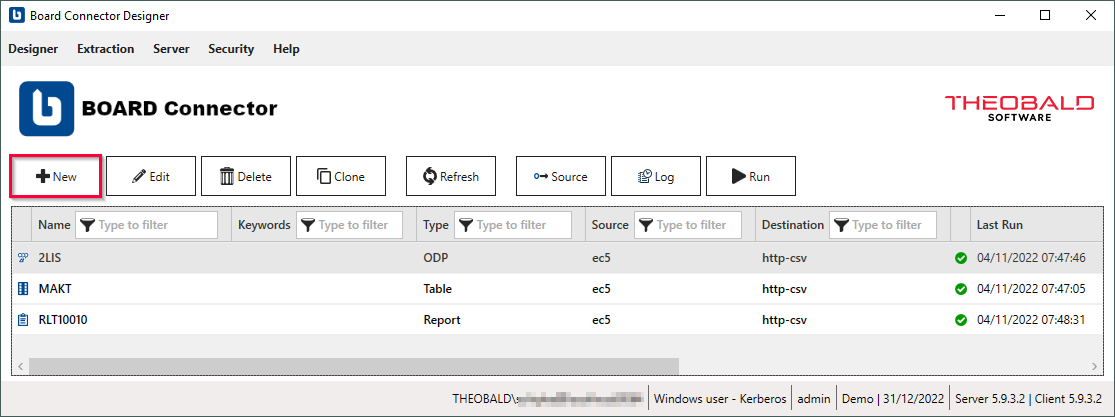 The window “Create Extraction” opens.
 - Field Source (1) states the SAP connection. Choose the SAP connection you created previously from the drop-down menu.
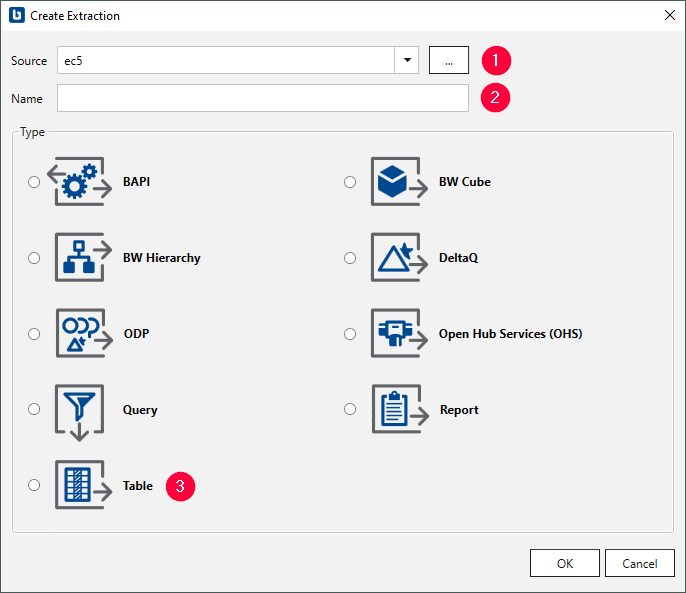
- Enter a unique name for your extraction (2).
- Choose the type of extraction. In the given example: SAP Table or View (3).
- Click [OK] (4) to confirm.
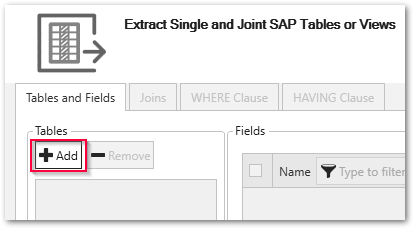
The window “Extract Single and Joint SAP Tables or Views” opens.
In the opened window you can define simple table extractions or join tables for extractions. In the following example, a single table is extracted.
Look up a Table #
- In the main window of the component click [Add] to add a table. The window “Table Lookup” opens.
- In the window “Table Lookup” enter the name of the table to extract (1). Use wildcards (*) if needed.
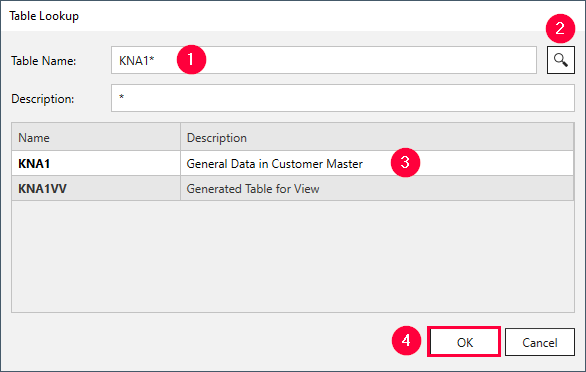
- Click
 (2). Search results are displayed.
 - Select a table (3) and click [OK] (4).
All relevant metadata information of the table is retrieved from SAP. The application now returns to the main window of the component.
Set Up a Table Extraction #
Set up the Table component to extract SAP tables:
- Select the columns you want to extract. By default all columns are selected. Deselect the columns you do not want to extract.
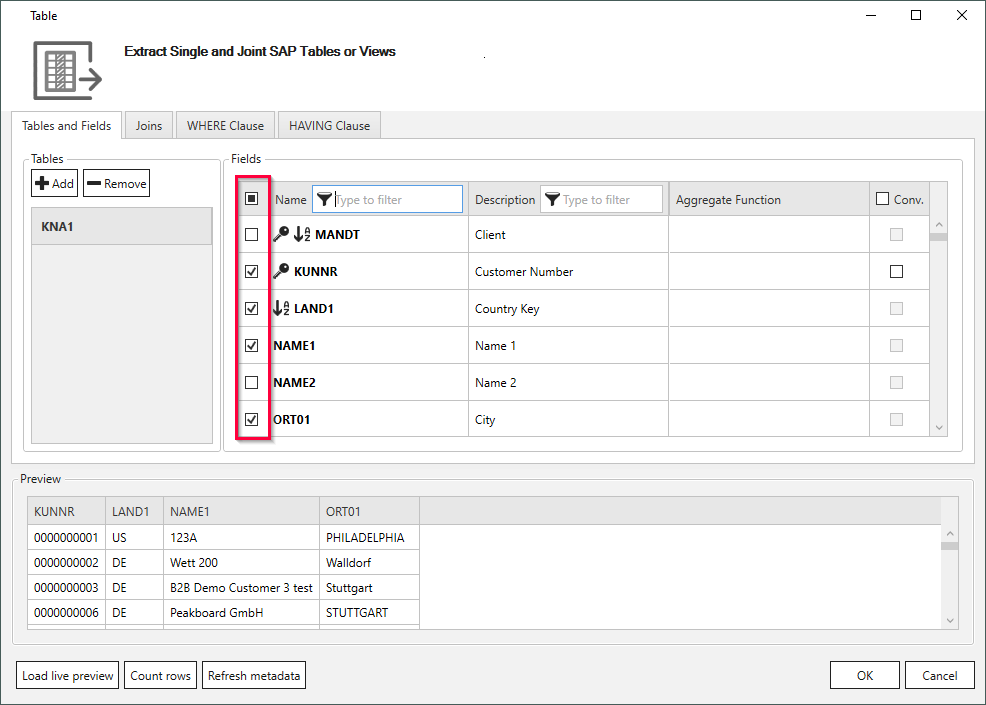
- Optional: Define a WHERE clause or a HAVING clause to filter table records. By default all data is extracted.
- Click [Load live preview] to display a live preview of the first 100 records.
- Click [OK] to save the extraction.
You can now run the extraction.