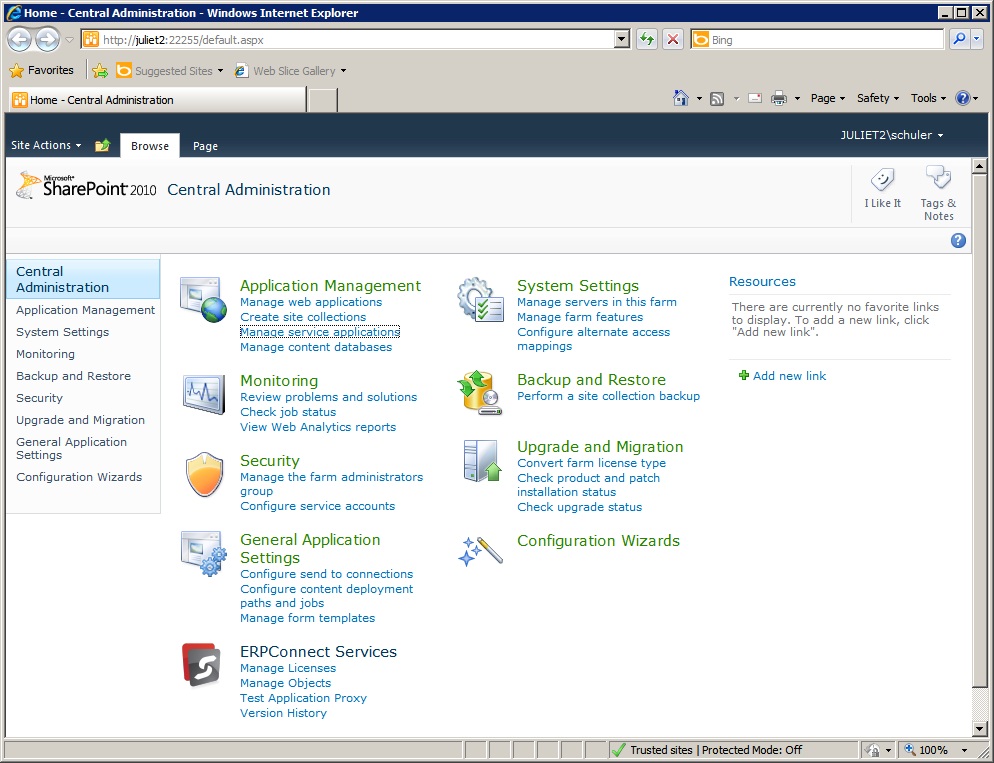
From the Start menu of your SharePoint Server system, launch SharePoint 2010 Central Administration.
On the Central Administration home page, from the Application Management group, select the Manage service applications link.
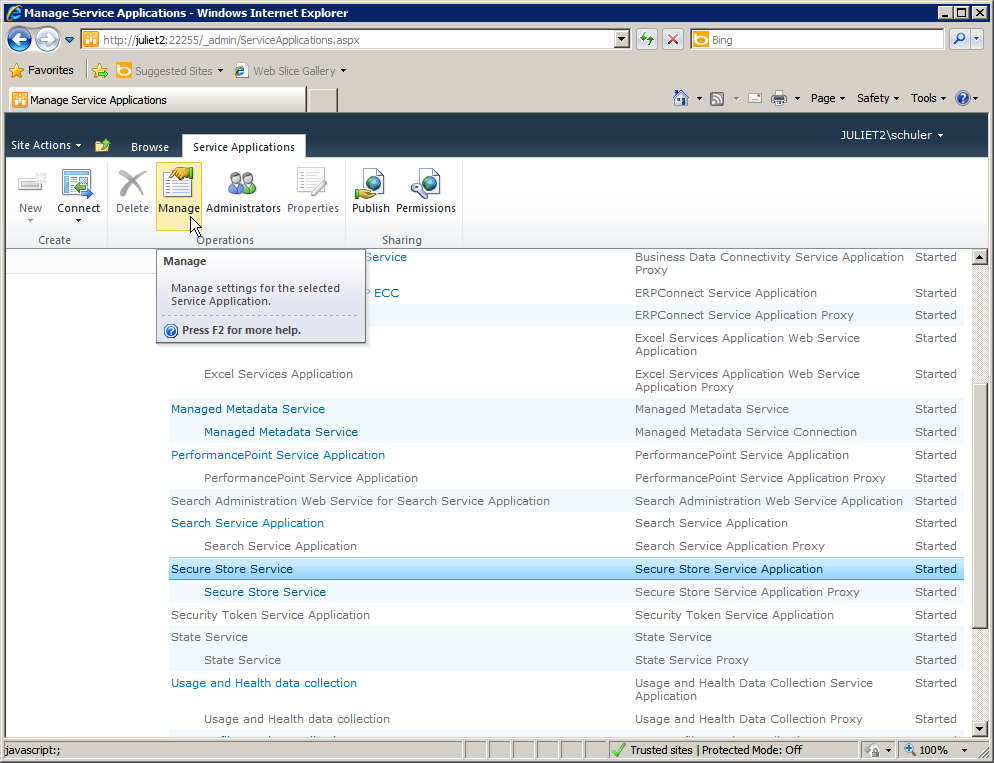
Scroll down the list of service applications and select Secure Store Service. Make sure the status of the service is ‘Started’. Select the Manage button from the ribbon.
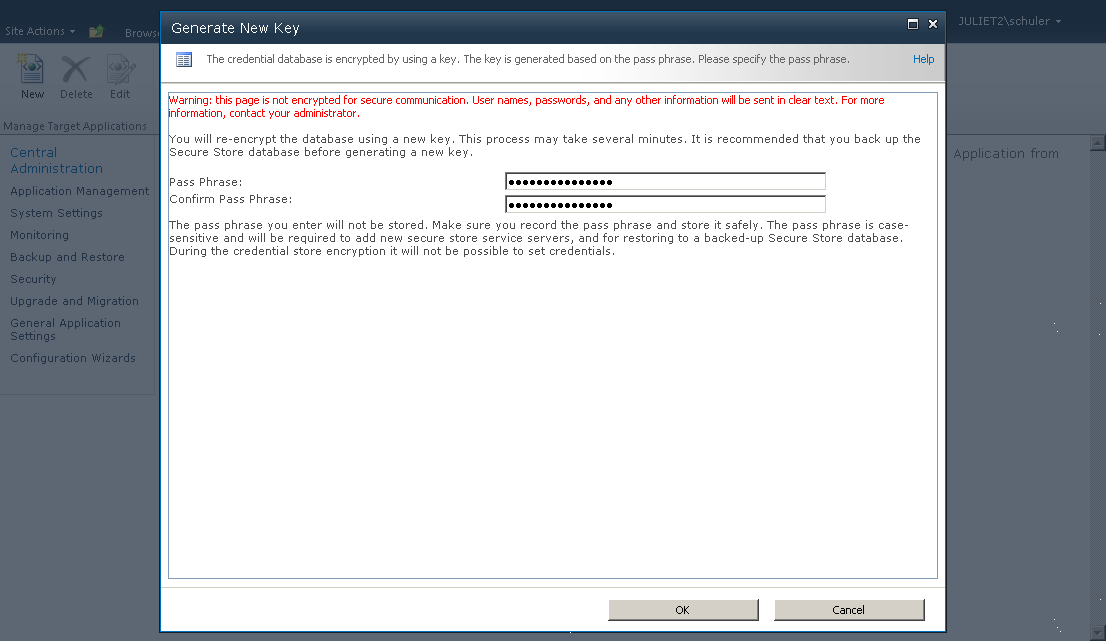
The first time you create a new Secure Store Target Application, you will be prompted to generate a key which is used by the Secure Store Service to encrypt the credentials database.
In the Generate New Key dialog, specify a passphrase and re-enter it. Select OK.
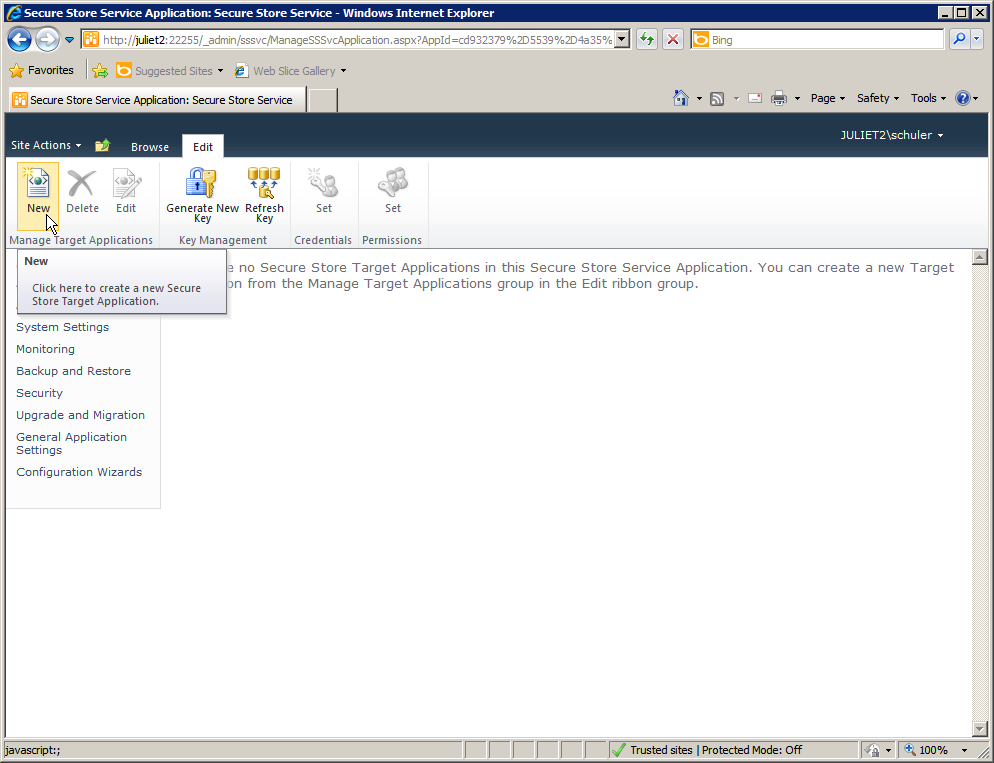
On the main page of the Secure Store Service Application, select the New button from the ribbon to create a new Target Application.
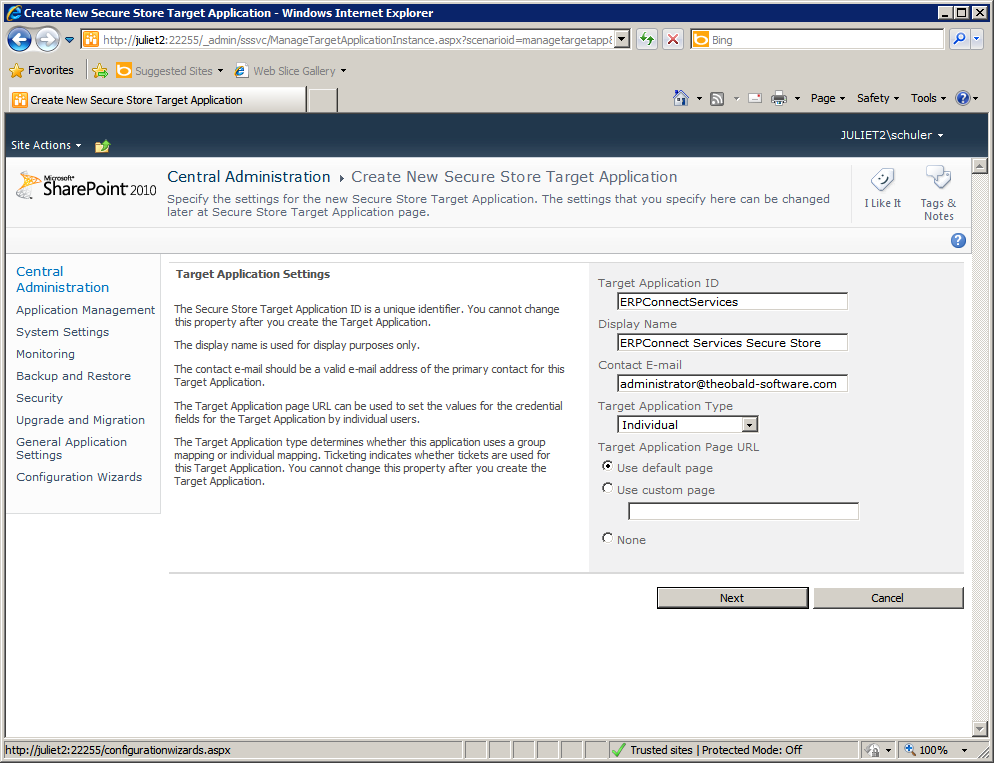
On the Target Application Settings page, specify the following values:
Target Application ID Unique ID (name) for the Secure Store Target Application, for example ‘ERPConnectServices’.
Display Name Display name for the Secure Store Target Application, for example ‘ERPConnect Services Secure Store’.
Contact E-mail E-mail address for the primary contact.
Target Application Type Select ‘Individual’ to map each SharePoint user account individually to one SAP user account. Select ‘Group’ to map all members of one or more groups to a single SAP user account.
Target Application Page URL URL of a web page that lets users specify the credentials if they are not found in the Target Application.
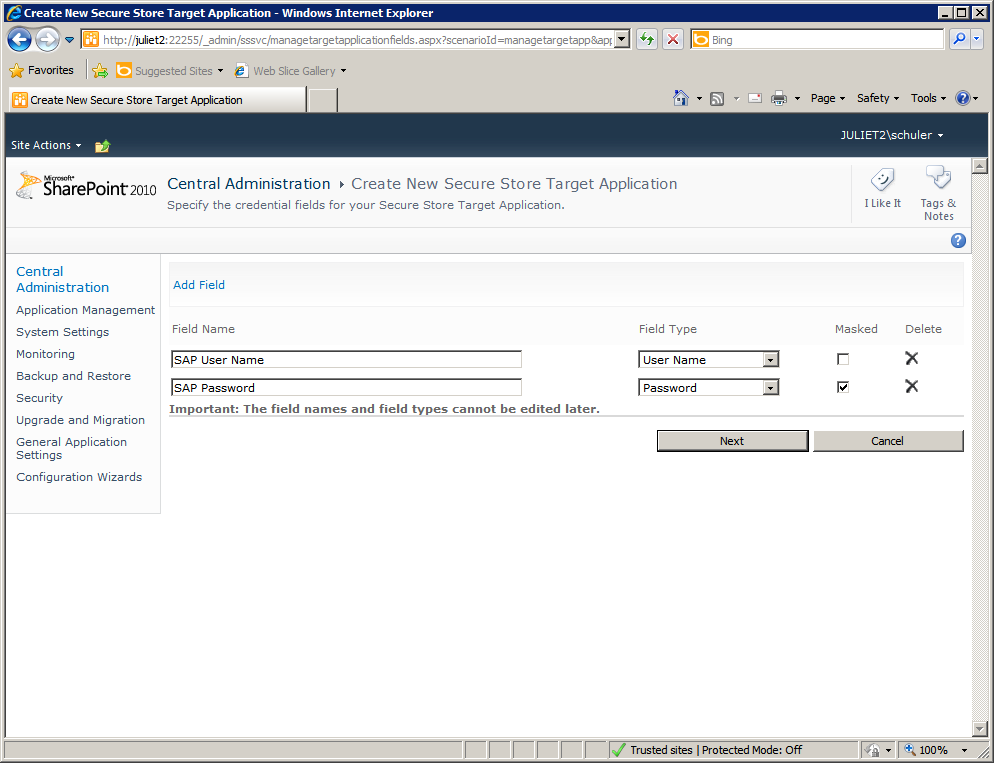
Select the Next button. In the following screen you will specify the fields for the credentials in the external SAP system.
Change the Field Name of the first field to ‘SAP User Name’ and change the Field Type to ‘User Name’.
Change the Field Name of the second field to ‘SAP Password’ and change the Field Type to ‘Password’.
Only the ‘SAP Password’ field needs to be masked during entry.
Select the Next button. In the following screen, specify one or more users who will be able to administer the Target Application.

Select the OK button to create the Target Application.
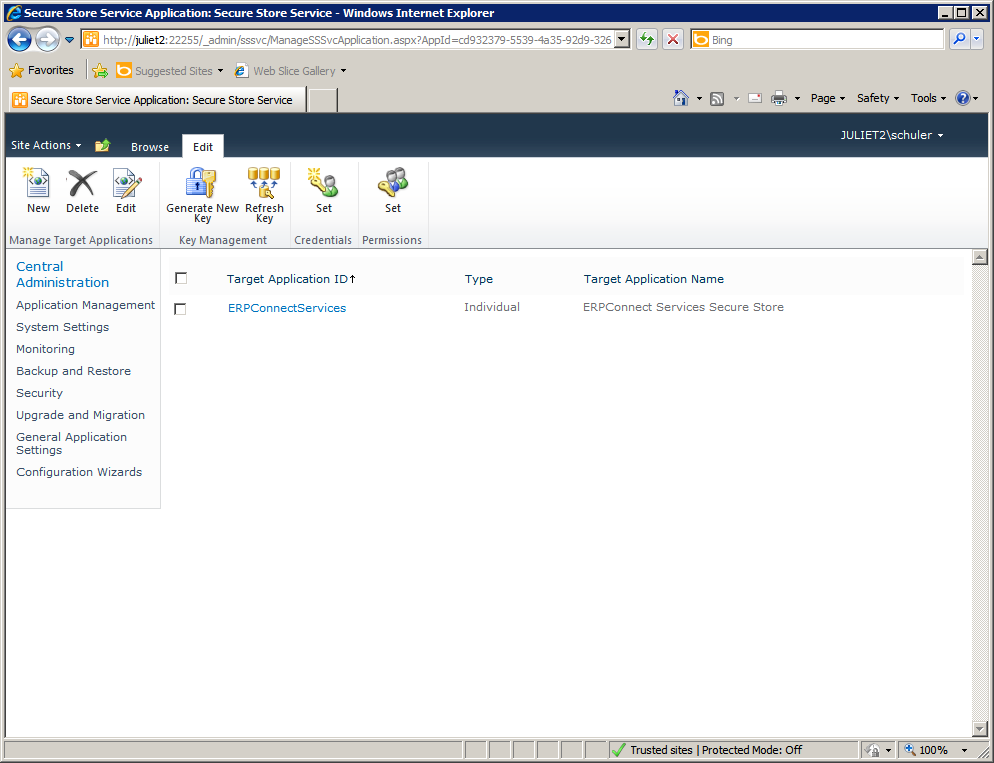
You should see the new Target Application listed on the main page of the Secure Store Service Application.
Setting Credentials
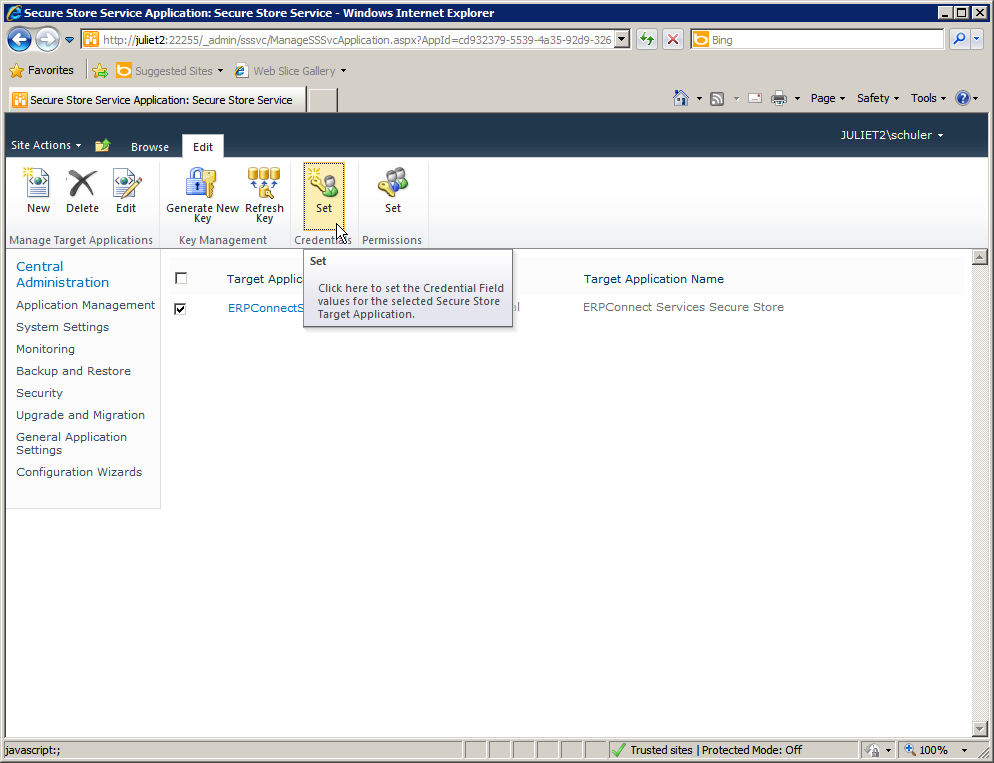
To set credentials in the Secure Store Target Application, select the application and then choose the Set command from the Credentials group in the ribbon.
In the Set Credentials for Secure Store Target Application dialog, specify the following values:
Credential Owner User account in SharePoint. You can use the dictionary icon for selection.
SAP User Name User account name in SAP.
SAP Password User password in SAP.
Confirm SAP Password Re-enter the user password in SAP.
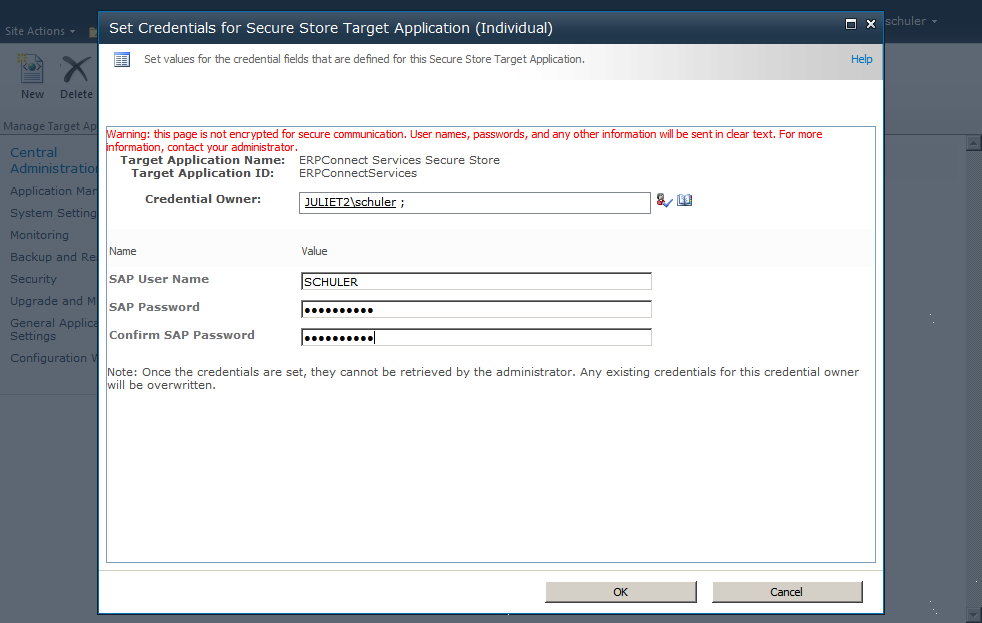
Select the OK button to set the credentials. Repeat these steps to set additional user credential mappings.
Close the SharePoint 2010 Central Administration window.
Using the Secure Store Service with the BCS Connector
Now that you have configured the SharePoint Secure Store Service for credentials mapping to SAP, you can use it with the BCS Connector to enable a Single Sign-On scenario.
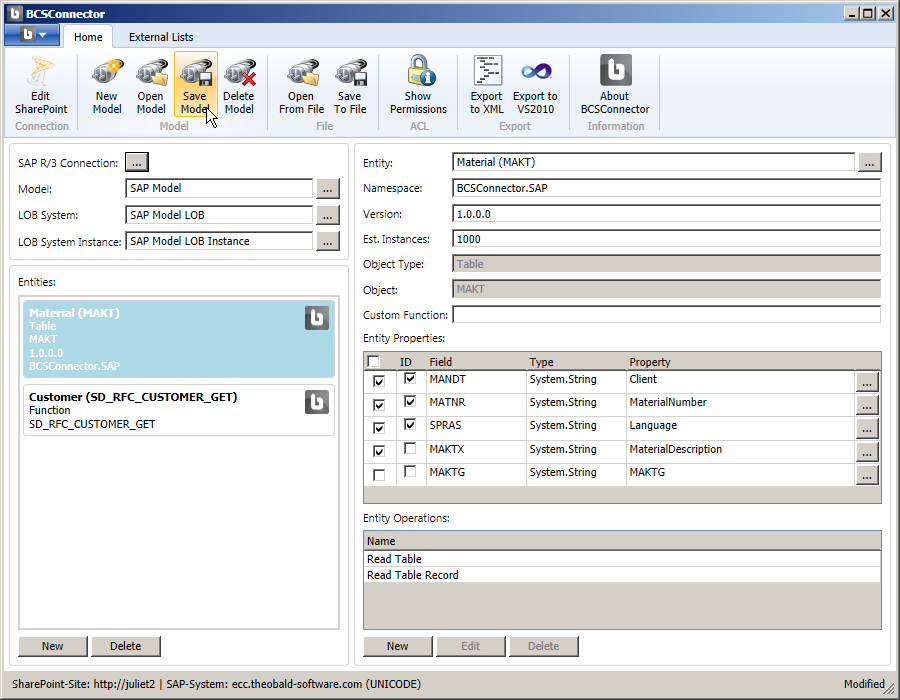
Open the BCS Connector Designer. Open an existing model or start creating a new one.
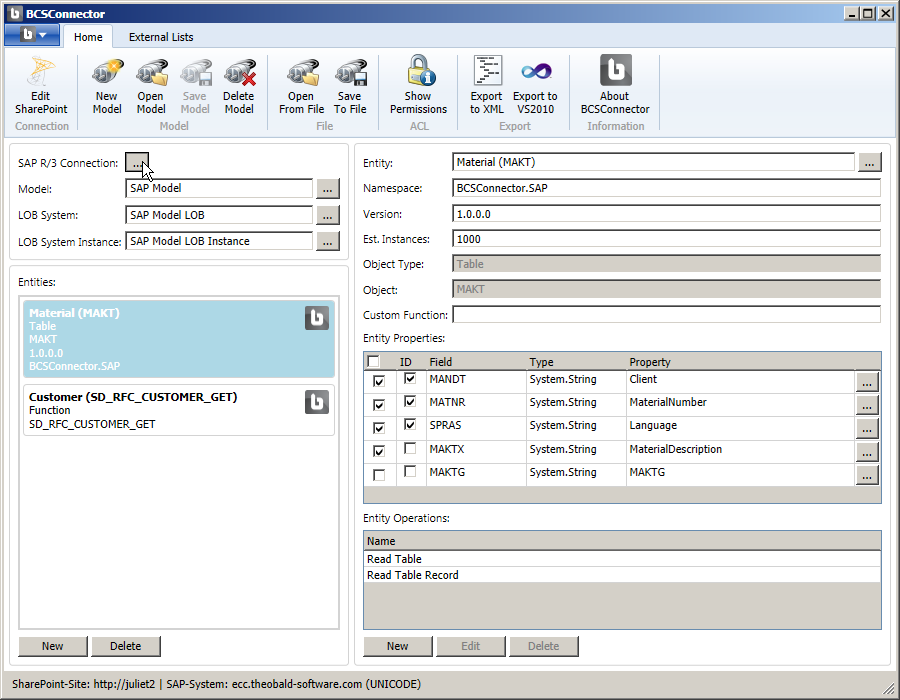
In the main BCS Connector window, select the ellipsis button next to SAP R/3 Connection.
In the SAP Connection dialog, specify the name of the Secure Store Target Application in the field Secure Store ID, in this example ‘ERPConnectServices’.
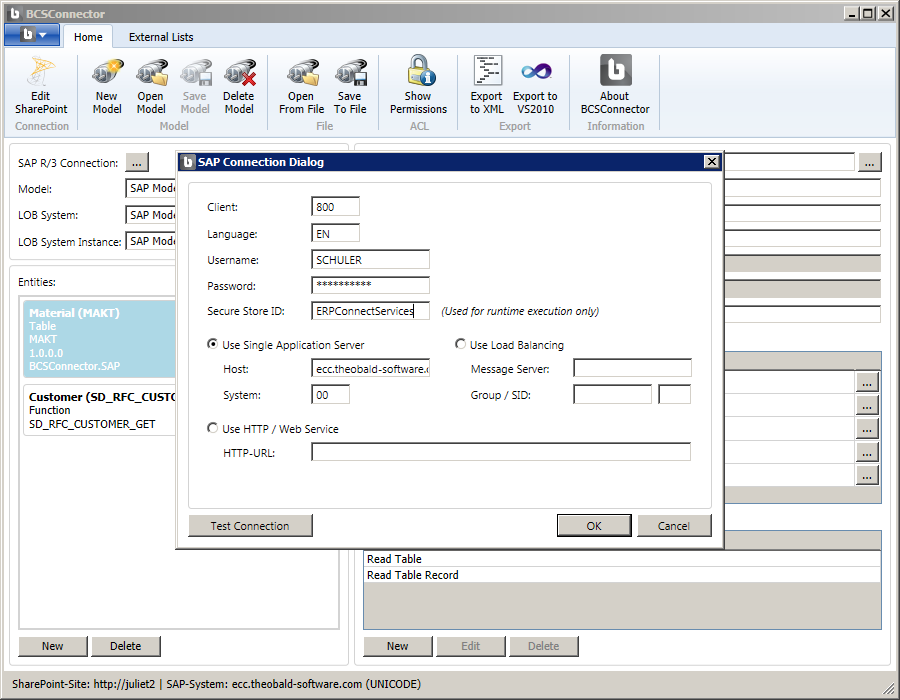
Select OK.
In the main BCS Connector window, select the Save Model command from the ribbon to publish your changes to SharePoint. Select Yes when prompted to confirm.
You should see a message that the model was successfully published to SharePoint.
Verifying Single Sign-On
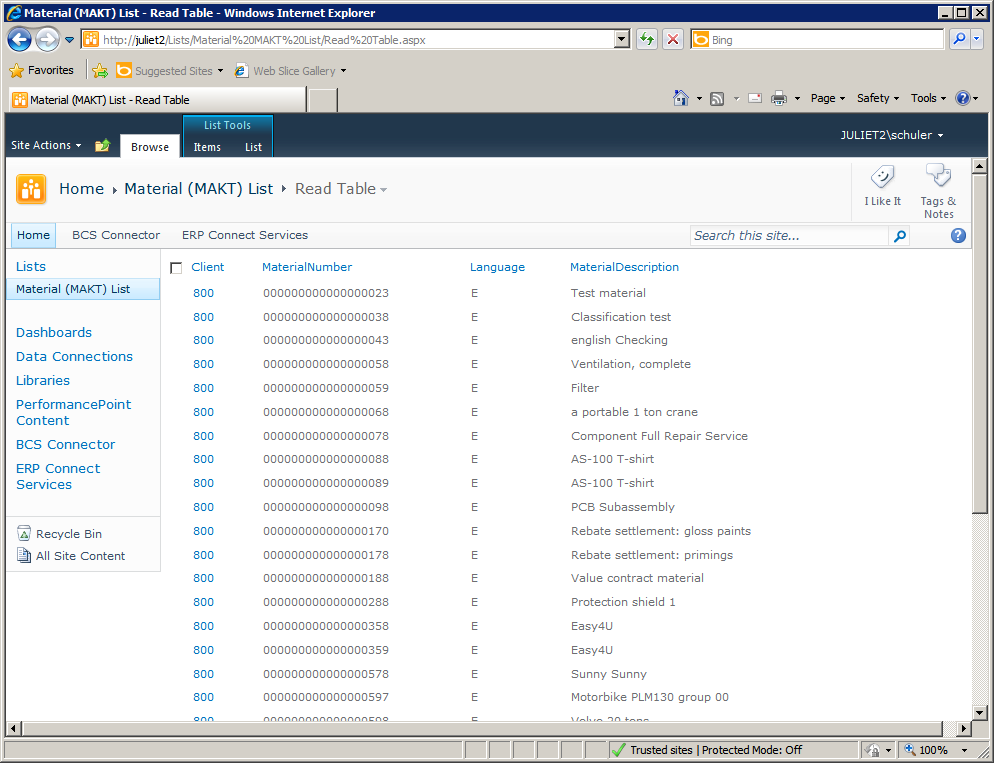
To verify that you have successfully configured Single Sign-On using the Secure Store Service Application, open a browser window and navigate to one of the external lists that you previously created, e.g. ‘Material List’.
In the upper right corner of your window, SharePoint shows the account name for the current user. If you have set the SAP credentials for this user in the Secure Store Target Application, you should be able to display SAP data in your external list.