Installing the solution with the installer
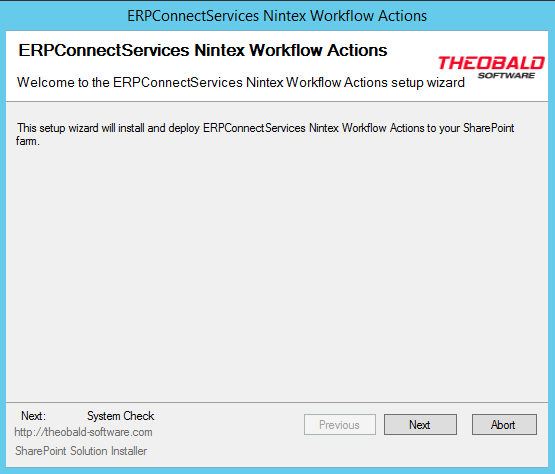
The Theobald Software Nintex Workflow Custom Actions (Query XQL Action, Call SAP Function and Read SAP table) are delivered as a installer package together with ERPConnect Services installation. Prerequisite for the implementation of the Custom Actions is a Nintex Workflow Installation on your SharePoint server (supported Versions: 2010 and 2013).
You find the installation file in the following folder: C:\Program Files\ERPConnect Services\ERPConnectServices.NintexWorkflowActions.exe
Follow the installation routine and the solution will be automatically deployed to and activated on SharePoint.
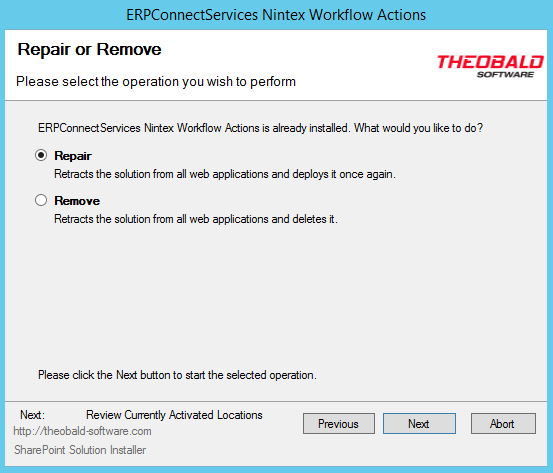
If a previous version is already installed there are the two options Repair and Remove.
With Repair the installed solution will reinstalled/updated that means the prior solution will be retracted and removed and a current solution package will be installed. With Remove the solution will be completely deleted on the server.
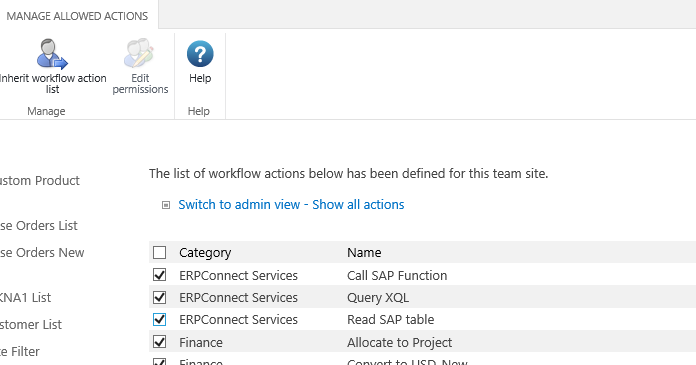
With newer Nintex Workflow Versions (as of 3.1.4) it is necessary to activate the Custom Actions explicitly on the site collection level. On your site collection go to Site Settings>Nintex Workflow> Manage Allowed Actions and mark the checkboxes for the three Custom Actions in the ERPConnect Services category. Save your entries with OK. Only then the Custom Actions will be available in the Nintex Workflow designer.
Furthermore for reinstalling/updating the solution using Repair it is necessary to (re-)activate the web application for Nintex Workflow. Otherwise there might be problems with workflow publishing. Go to Central Administration>Nintex Workflow Management>Web Application Activation. The default web application should be pre selected. Click activate.
Installing the solution manually
For manual installation solution package ERPConnectServices.NintexWorkflowActions.wsp that can be found in the installation folder and must be deployed and activated.
Add the solution package using the SharePoint Management Shell:
add-spsolution -LiteralPath “C:\Program Files\ERPConnect Services\ERPConnectServices.NintexWorkflowActions.sp20XX.wsp”
Uninstalling the solution manually
In case you reinstall the solution package you first have to retract and remove the outdated version.
To retract the deployed solution go to Central Administration->System Settings->Manage farm solutions->ERPConnectServices.NintexWorkflowActions.wsp and select Retract Solution.
Tor remove the solution using the SharePoint Management Shell:
remove-spsolution -identity “ERPConnectServices.NintexWorkflowActions.sp20xx.wsp”
The custom actions are still available in the Nintex Actions administration. To completely remove them, run the following SharePoint Management Shell commands:
NWAdmin.exe -o RemoveAction -adapterType ERPConnectServices.NintexWorkflowActions.ReadTableAdapter
NWAdmin.exe -o RemoveAction -adapterType ERPConnectServices.NintexWorkflowActions.CallBAPIAdapter
NWAdmin.exe -o RemoveAction -adapterType ERPConnectServices.NintexWorkflowActions.ExecuteXQLAdapter
Deploy the solution Package
- Navigate to Central Administration and click on System Settings.
- Click on Manage farm solutions in the Farm Management section.
- Click on ERPConnectServices.NintexWorkflowActions.wsp and then click Deploy Solution in the toolbar.
- Ensure that All content Web applications is selected in the Deploy To? section and click OK.
- After a short delay, you will be returned to the Solution Management page. ERPConnectServices.NintexWorkflowActions.wsp should now appear as deployed.
Activate the feature [prior to version 1.1.178]
- Navigate to Central Administration and go to Site Settings.
- Click Manage Site features in the Site Actions section.
- Navigate to ERPConnect Services Nintex Workflow Actions and click Activate.
- After a short interval, the page will refresh and the status will become Active.
Activate the feature [as of version 1.1.178]
- Navigate to Central Administration and go to Application Management.
- Click Manage web applications and select the SharePoint site you want to activate the solution on.
- In the menu bar navigate to Manage features and click Activate next to the ERPConnect Services Nintex Workflow Actions.
- After a short interval, the page will refresh and the status will become Active.
Activate Custom Actions on site collection [as of Nintex Workflow version 3.1.4]
- On your site collection navigate to Site Settings>Nintex Workflow> Manage Allowed Actions
- Mark the checkboxes for the Custom Actions in category ERPConnect Services.
- Save your entries with OK.
Web Application Activation
- Navigate to Central Administration and select Nintex Workflow Management.
- Click on Web Application Activation. The default web application should be automatically preselected.
- Click Activate.