The following section shows how to use the Table CDC component.
Look Up a Table #
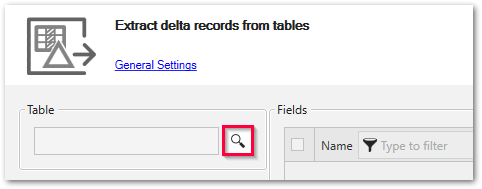
Look up the SAP table you want to track.
- In the main window of the component click [Search] (
 icon). The window “Table Lookup” opens.
- In the field Table Name (1) enter the name of the SAP table you want to track. Use wildcards (*) if needed.
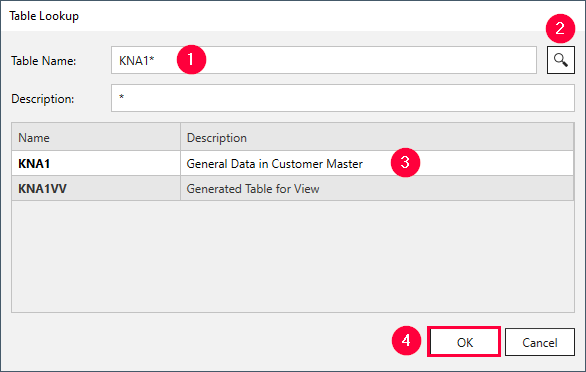
- Click (2).
- Select the desired table (3) and click [OK] (4).
The application now returns to the main window of the component. All relevant metadata information of the table is retrieved from SAP.
Define a Table CDC Extraction #
Set up the Table CDC component to extract data:
- Select the columns you want to extract.
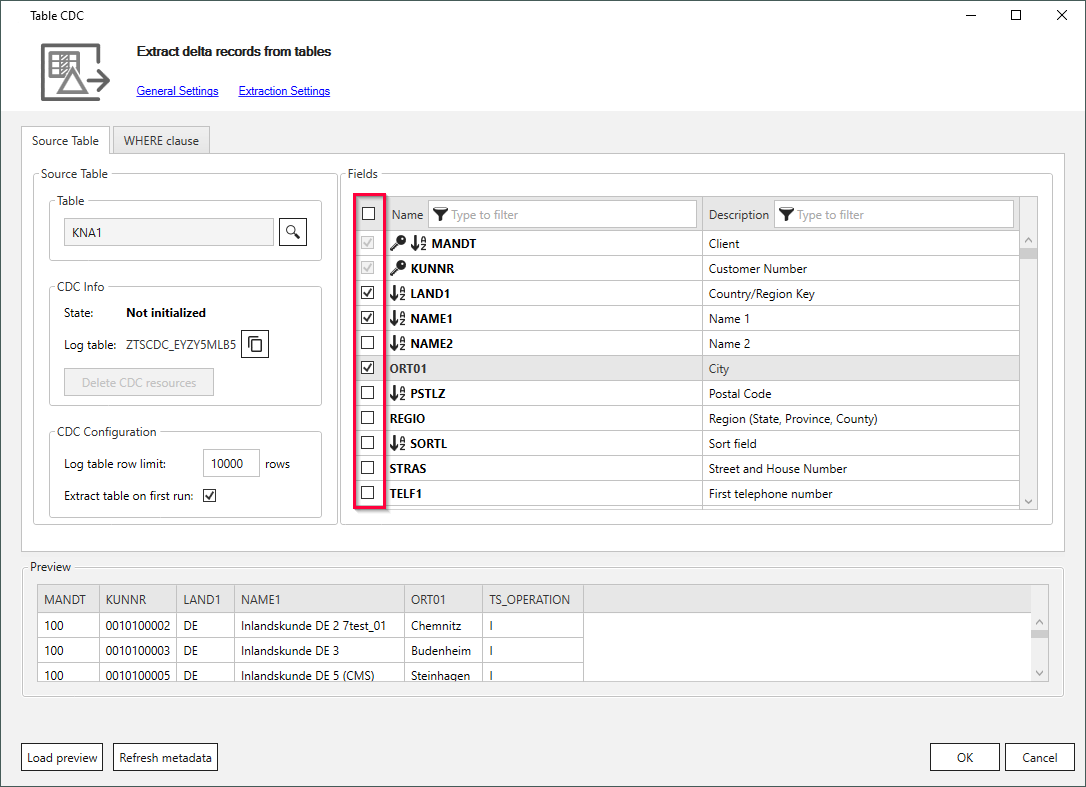
- Optional: If you do not want to extract the whole table when first running the extraction, deactivate [Extract table on first run].
- Set a maximum number of rows that can be tracked. The default is 10000 rows.
If the row limit is reached, the extraction fails with an exception. The maximum row limit of a log table is 500000. Note that once a log table is initialized, you cannot change the size limit anymore. - Optional: Define a WHERE Clause to filter table records.
- Click [Load Preview] to load 1000 records for the preview.
The column TS_OPERATION indicates if a row was inserted (I), updated (U) or deleted (D). - Click [OK] to confirm your settings.
- Run the extraction to create a log table in SAP that records any changes made to a selected table, see Run the Extraction for the First Time.
Before deleting an extraction, click [Delete CDC resources] in the Table CDC component. This also deletes the log table and all associated triggers from your SAP system.
Warning! Table change not possible
The source table structures can be changed only after clearing the CDC-related resources connected to that table in SAP, see SAP Note 2284776
Run the Extraction for the First Time #
Run the extraction for the first time to create a log table in SAP that records any changes made to a selected table or view.
- In the main window of the Designer select the extraction.
- Optional: click [Destination] to assign the destination where you want to write data to (1).
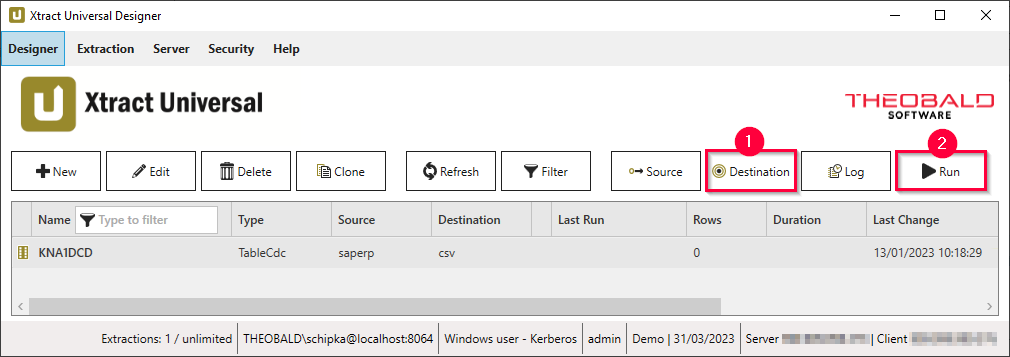
- Click [Run] (2). The window “Run Extraction” opens.
- Click [Run] (3) to run the extraction.
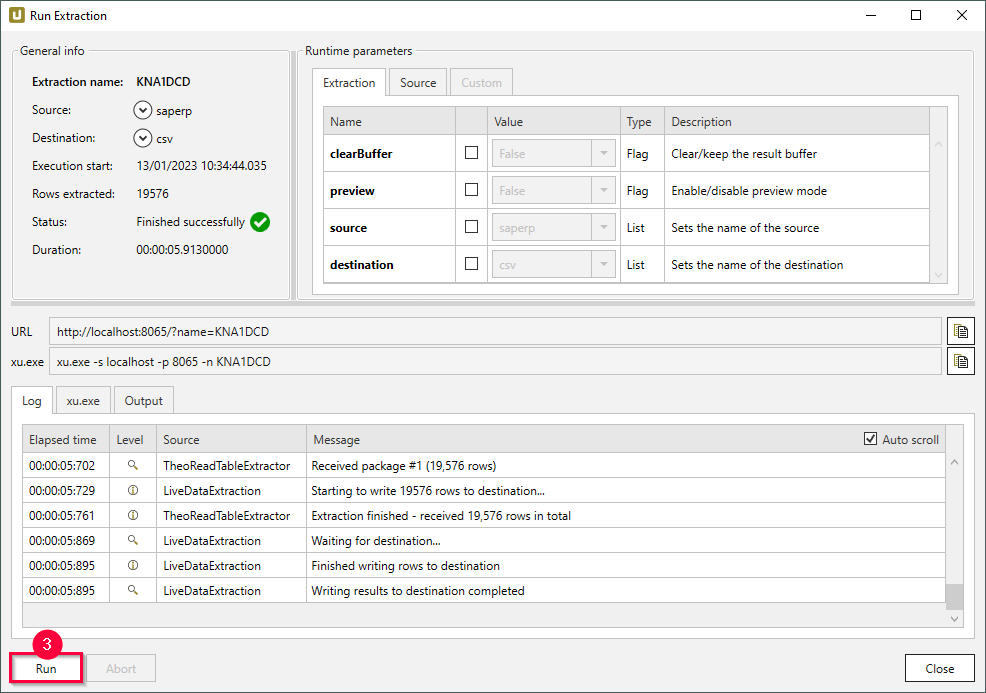
- If the extraction is successful, the status in the General Info section of the window changes to “finished successfully”.
If an error occurred, you can find information on the error in the Log section of the window.
The log table in SAP is now available for the Table CDC component. The extracted SAP table is now available in your destination.
Note: When running the extraction regularly the content of the log table in SAP is extracted and written to the destination. The content of the log table in SAP is cleared after every successful run of the extraction. Data that was not extracted is not cleared.