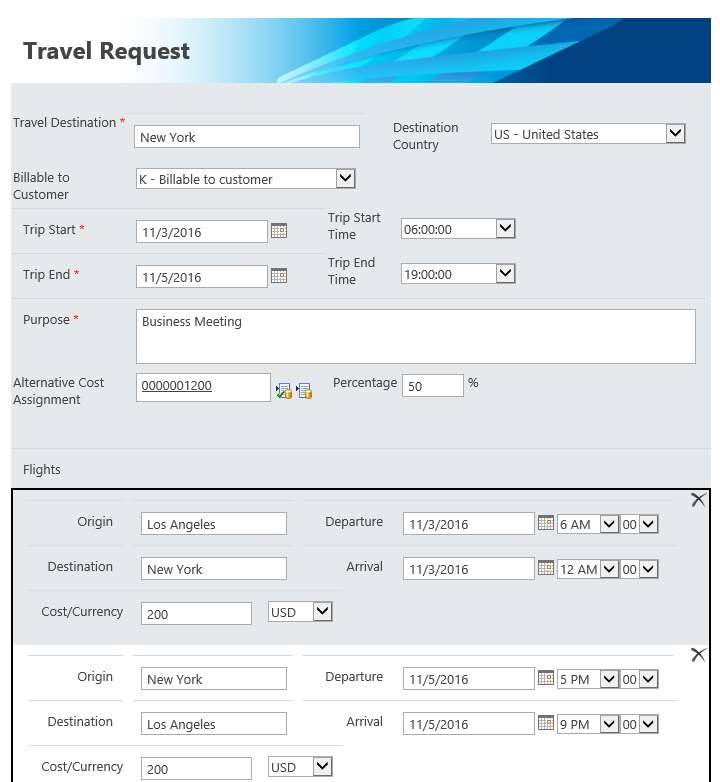
After implementing the workflows and configuring it on your system environment you can start testing them. First enter a travel request with a user who is assigned to a manager in the Active Directory.
Important:
- The manager has to be stored in SharePoint list Approver with e-mail adress and approval limit.
- The SAP user has to be customized for the travel management component (e.g. infotype 0017 must exist).
- You shouldn’t perform functional tests on your productive SAP system.
The workflow starts automatically and the request is submitted to the manager.
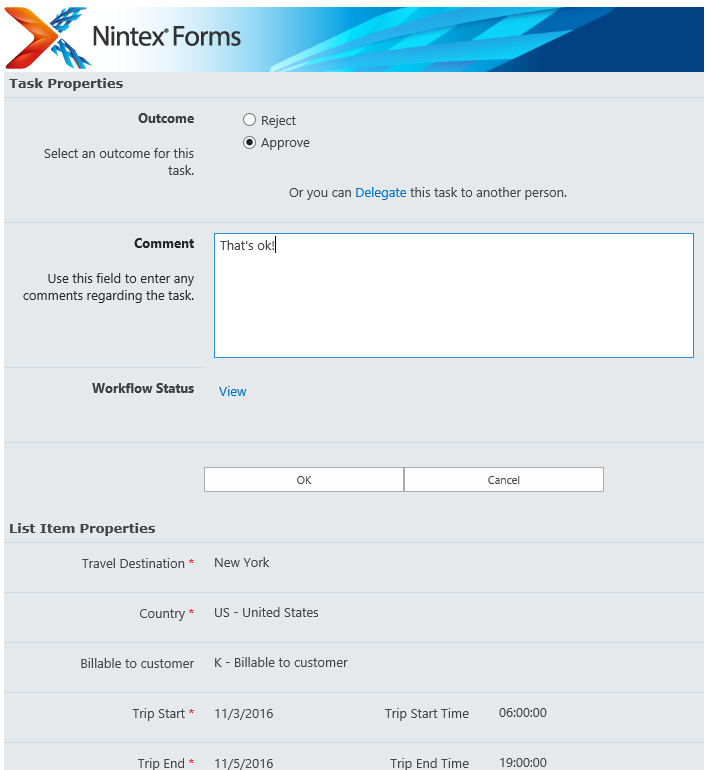
Approve the request with the manager account.
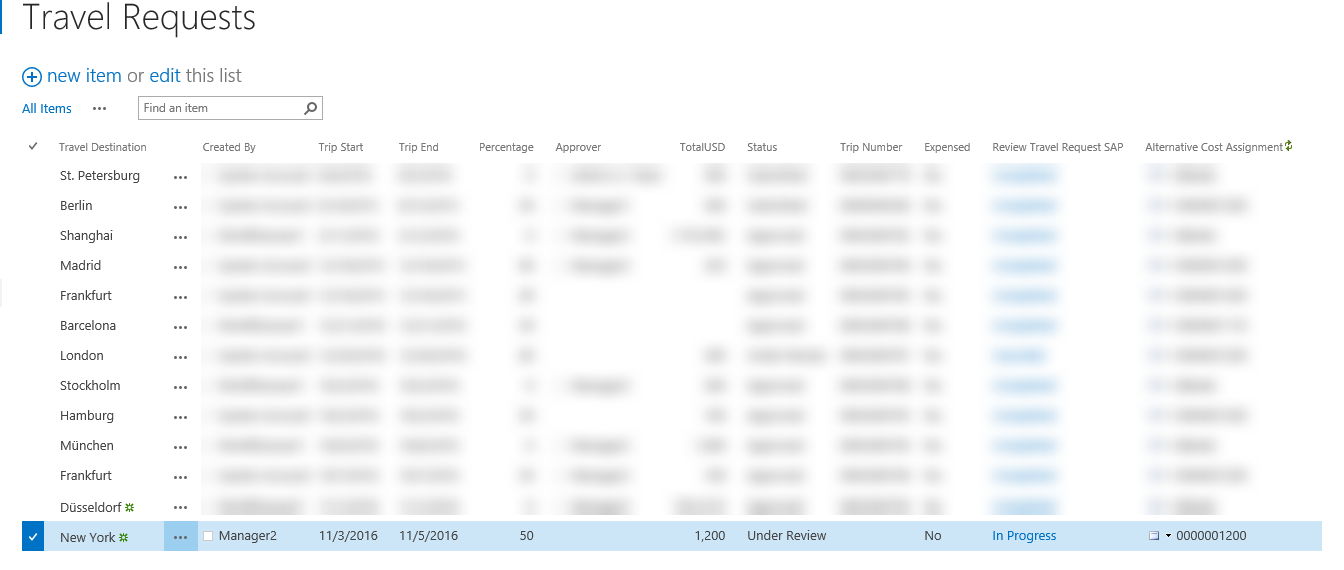
The workflow is finished sucessfully when a trip number has been created in SharePoint list Travel Requests.
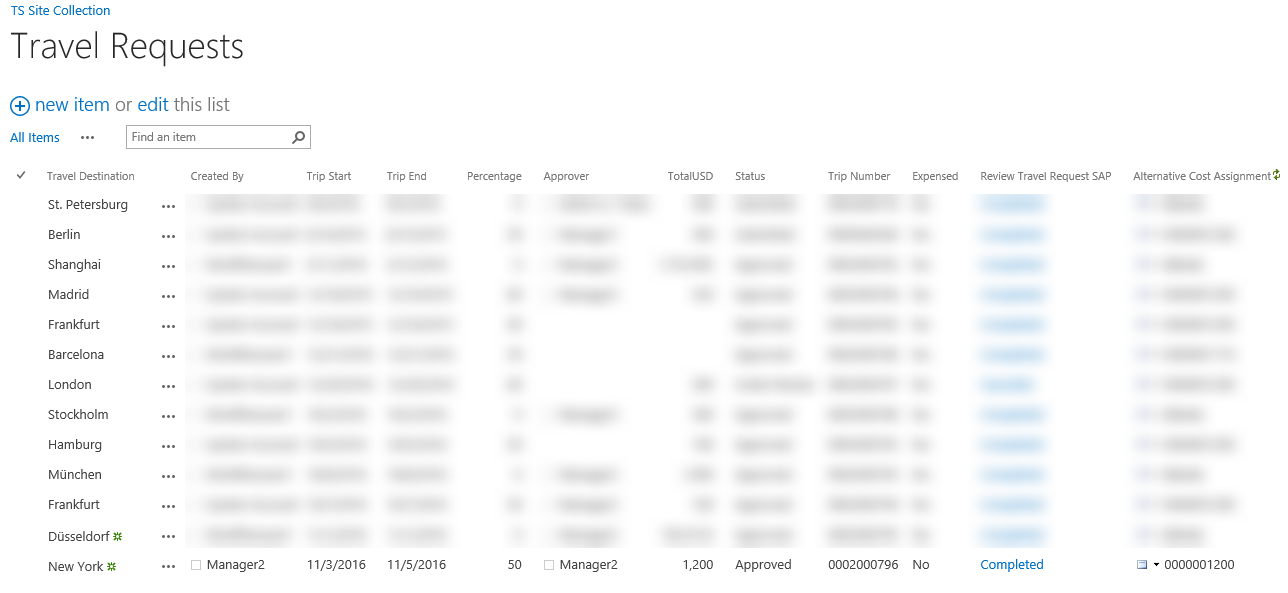
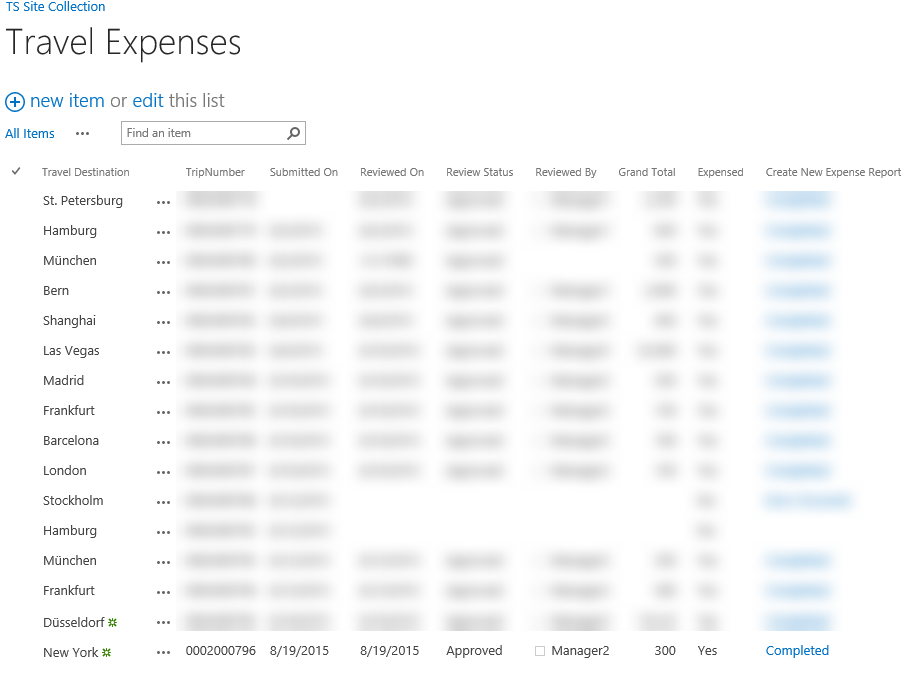
When the Travel Request workflow is finished a new item is created in SharePoint list Travel Expenses.
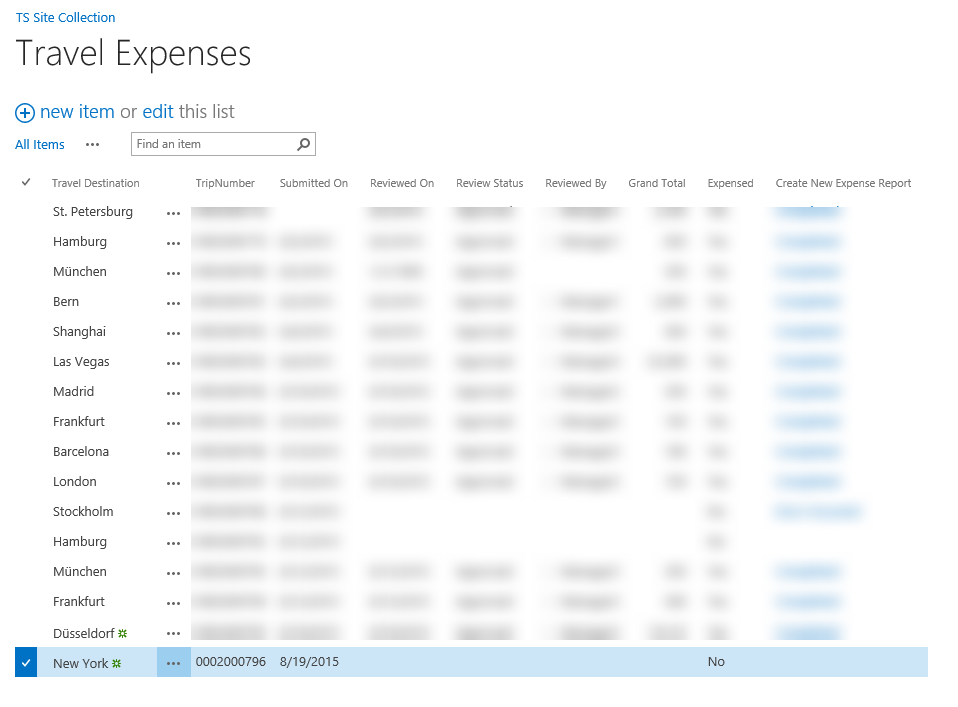
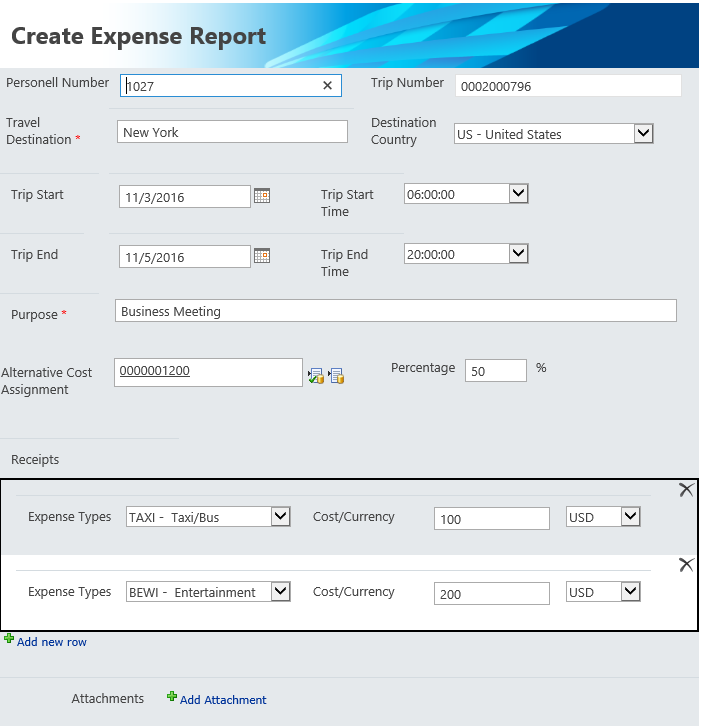
Edit the item and enter new expense types with corresponding costs in the Nintex form. If you entered an alternative cost assignment in the first place you have to reenter it here.
The workflow starts automatically and the request is submitted to the manager.
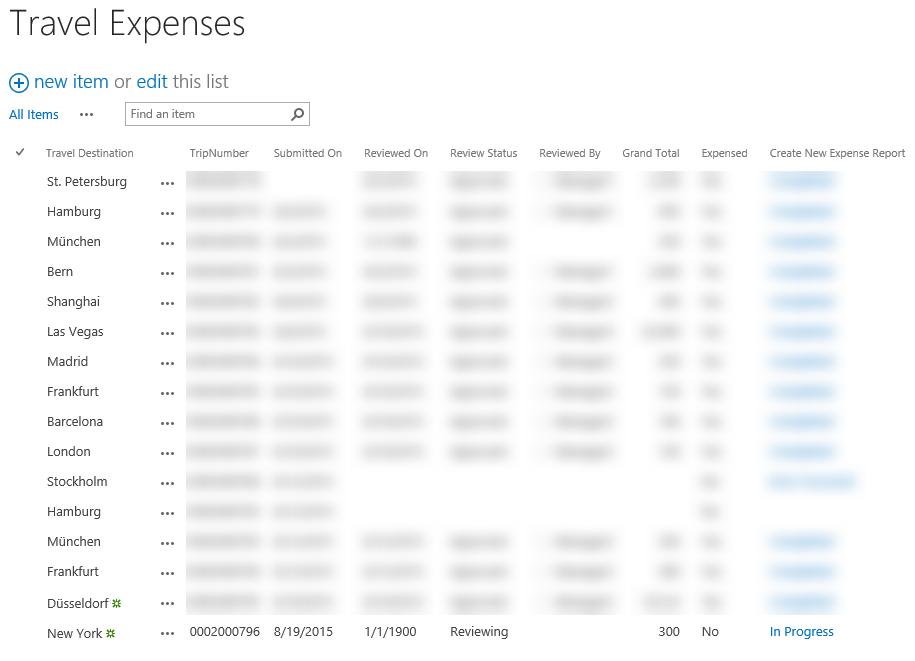
Approve the request with a corresponding manager account and the expense report is posted to the SAP system. After that the workflow is finished.
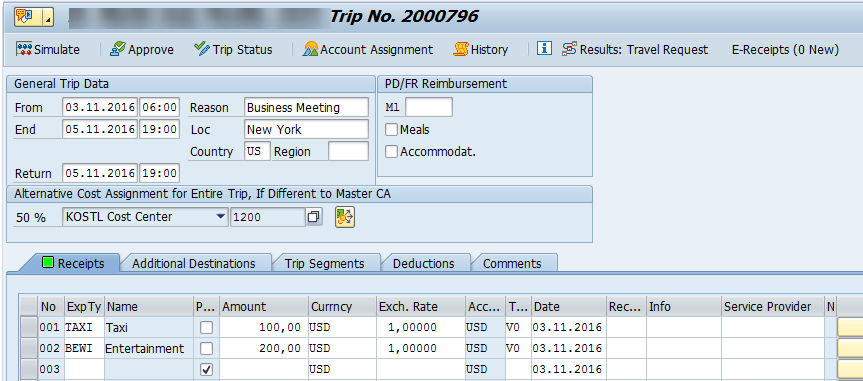
You can check in the SAP system if all data was posted correctly. To do so, open the Travel Expense Manager in your SAP system with transaction code PR05 and call up the right personell number and trip number. Any information from the request initiated in SharePoint should be listed there. As you see there are other fields you could integrate as well in the scenario.